What Actually Happens During a Septic Pumping Visit
If you’ve never had your septic tank pumped — or if it’s been long enough that you’ve forgotten what the process looks like — here’s a clear walkthrough of what to expect from start to finish.
Before We Arrive
When you schedule a pumping visit with us, we’ll ask a few questions when we confirm the appointment: your address, whether you know where the tank is located, what type of access exists (riser cap at the surface, or the lid is buried), and any relevant background on the system you can share. That information helps us come prepared rather than arriving and figuring everything out from scratch.
If you don’t know where the tank is, that’s fine — locating it is part of what we do. Just let us know ahead of time and we’ll plan accordingly. Before the appointment, clear the area around the tank if you know where it is, move any vehicles that might block access, and try to avoid running large amounts of water the morning of the visit.
Step 1: Locating and Accessing the Tank
When we arrive, the first task is getting to the tank. If the tank has a riser — a plastic extension that brings the access point up to or near ground level — this step is quick. We lift the cap, set up, and get started. If the lid is buried, we’ll either use the site diagram (if one exists) or physical clues on the property to locate it, then dig down to expose the access point.
The depth of a buried lid varies. Most tanks in central Kentucky are installed with the lid one to three feet below grade. Some older tanks — particularly those on properties built in the 1960s and 1970s — are buried deeper. Once the lid is exposed, we check its condition before opening: cracks, chips, or deterioration in the lid itself are worth noting because a compromised lid is both a safety hazard and an indication of potential tank aging.
Step 2: The Initial Assessment
Before pumping begins, we look into the open tank. This gives us a quick read on conditions before the contents are removed: how full is the tank, how thick are the scum and sludge layers, what does the liquid level look like relative to the outlet baffle, and is there any visible sign of unusual material in the tank.
A tank at normal operating level with typical sludge and scum accumulation looks different from a tank that’s overfull, one that has an unusually thick grease layer, or one where the liquid level is elevated because the outlet isn’t draining properly. The pre-pump observation sets the context for everything that comes after.
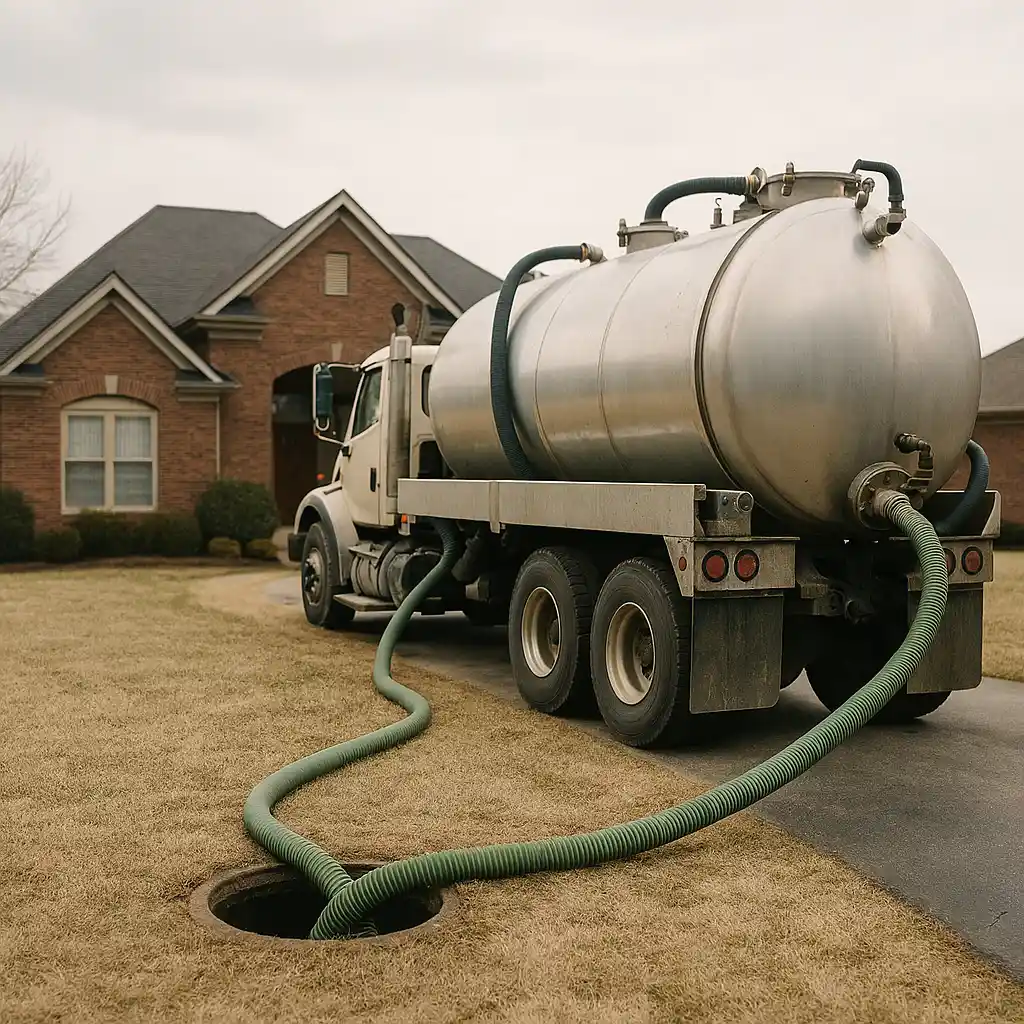
Step 3: Pumping the Tank
The pump truck runs a vacuum hose into the tank and begins removing the contents — liquid effluent, sludge from the bottom, and scum from the top. For a 1,000-gallon residential tank in average condition, this process takes roughly 20 to 30 minutes. Larger tanks take longer. Tanks with heavy sludge buildup that has compacted over many years may require additional work to fully clear.
We empty the tank completely — not partially. Partial pumping leaves sludge behind that continues compacting and reducing the tank’s effective capacity between service visits. A complete pump-out gives you a clean baseline and maximizes the time before the next service visit is needed.
During pumping, we can usually see the inlet and outlet baffles more clearly as the liquid level drops. This is when baffle condition becomes most visible — whether they’re intact and properly positioned, cracked, or deteriorated to the point where replacement is warranted.
Please avoid using any water in the house while pumping is active. We’ll let you know when it’s fine to resume normal use.
Step 4: Inspection of the Empty Tank
With the tank empty, we take a proper look at the interior. This is when we assess the structural condition of the tank walls and floor — looking for cracks, deterioration, or any sign that the tank’s integrity may be compromised. Concrete tanks develop hairline cracks over decades; most are surface-level and don’t affect function, but larger or penetrating cracks warrant attention.
We inspect the inlet baffle — which directs incoming flow into the tank — and the outlet baffle, which controls the flow of effluent toward the drain field. Damaged or missing baffles are among the most common issues we find on routine pumping visits. An inlet baffle in poor condition allows incoming waste to disturb the settled sludge layer. A damaged outlet baffle allows solids to pass toward the drain field, which is the primary cause of premature drain field failure.
If the tank has multiple chambers — common in newer systems — we check each one. We also look at where the inlet and outlet pipes enter the tank walls for any signs of separation or damage.
Ready to schedule a pumping visit?
We serve Lexington and all of central Kentucky. Fill out the form and we’ll get you scheduled.
Schedule Septic Pumping
Upfront pricing, honest assessment, fast scheduling.